Why Natural Light Is So Good for Food Photography (and How to Make the Most of It)
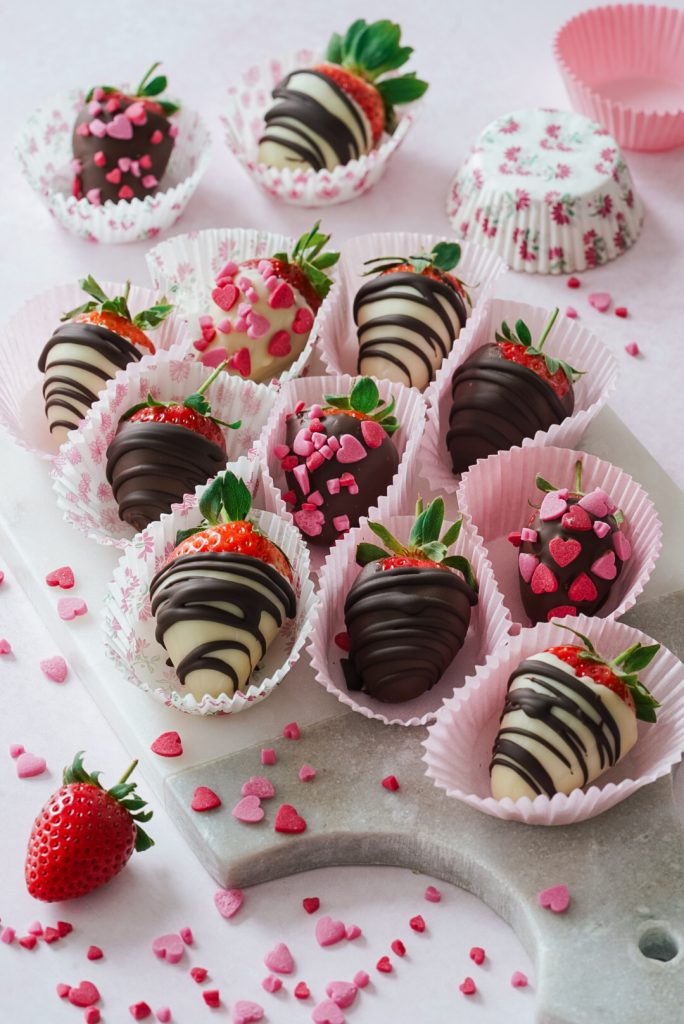
If you want to take mouth-watering photos of food, whether for your blog, your business, or just for fun, natural light is your best friend. Natural light brings out the true tones and textures in your dishes. It can make food look fresh, vibrant and delicious.
But there's more to it than just putting your plate near a window. In this post, I’ll look at why natural light works so well and how to make the most of it, plus the common pitfalls to avoid.
Why Natural Light Works So Well
-
True-to-life colours
Natural daylight is balanced and neutral — it won’t make your food look yellow or blue like indoor bulbs and spotlights tend to. -
Soft, directional shadows
Window light is beautifully directional, meaning you can create depth and dimension with soft shadows that sculpt your food rather than flatten it. -
It’s free
You don’t need any fancy equipment. With a bit of planning and positioning, natural light can give you professional-looking results.

How to Set Up for Best Results
-
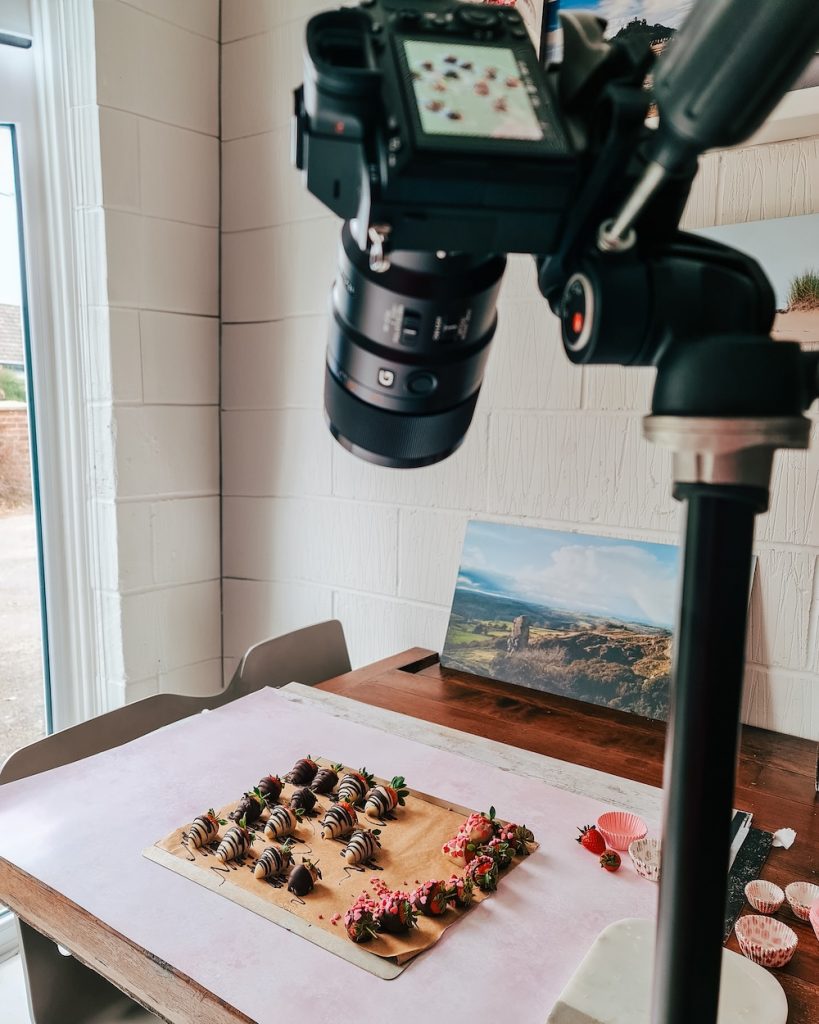
Find a window with soft, indirect light
North-facing windows are ideal in the UK, but any window without direct sunlight can work. Mid-morning or late afternoon usually gives the best light. -
Use a table close to the window
Set up your dish on a small table or surface right by the window. A neutral surface like a wooden table or backdrop board works well. -
Turn off indoor lights
Mixing light sources can create colour casts. Stick to just natural light for clean, even tones. -
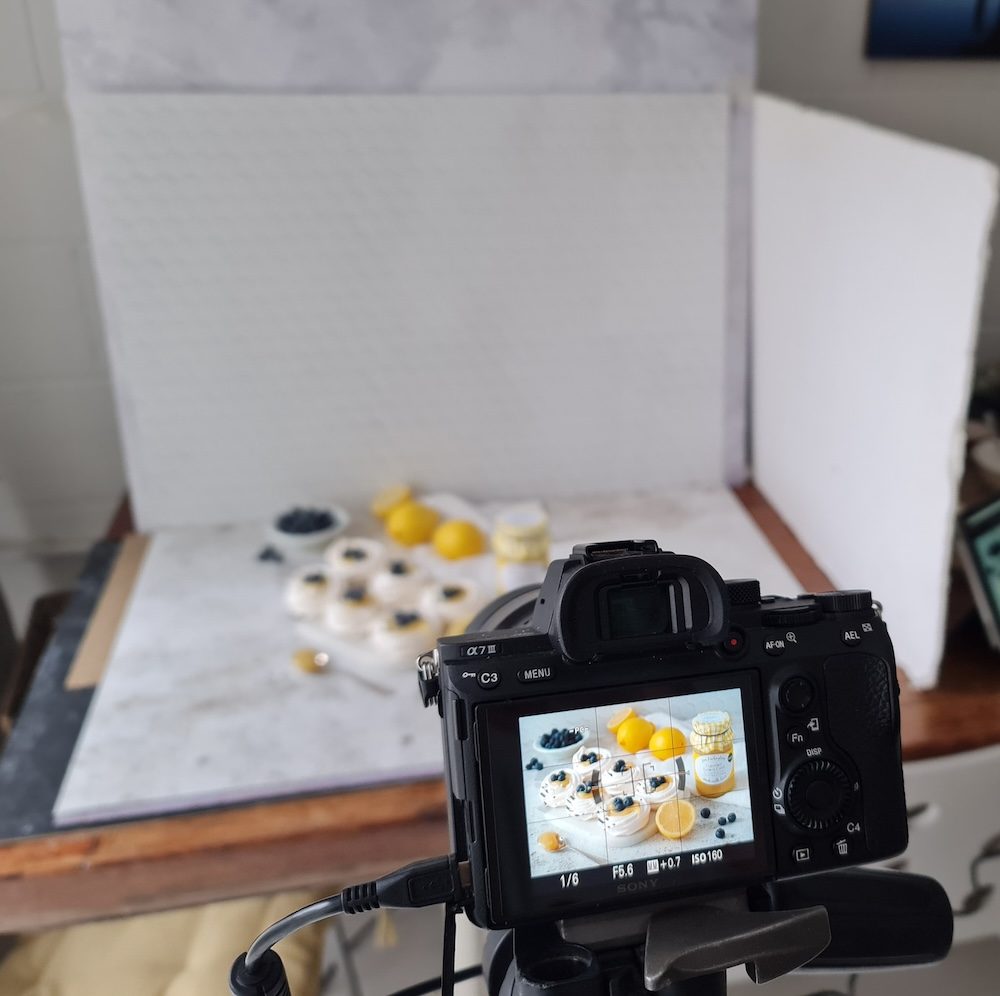
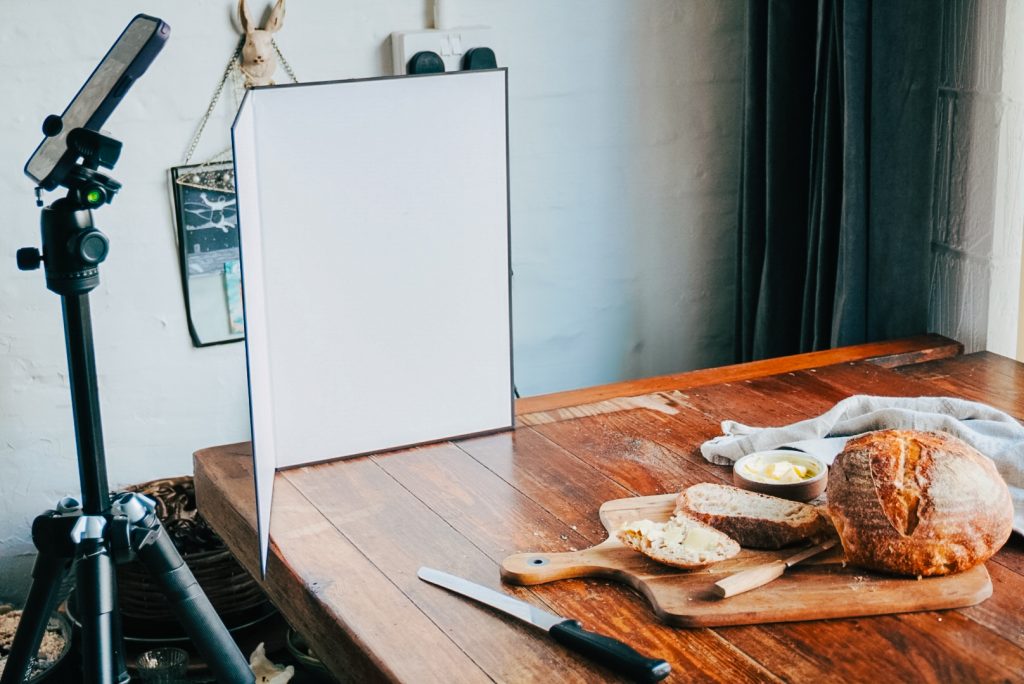
Use a reflector or white card.
If one side of your food is in shadow, use a white foam board or even a piece of white card to bounce light back and soften shadows.

Common Pitfalls and How to Avoid Them
-
Direct sunlight = harsh shadows
Direct sun can create overly bright highlights and deep shadows. Use a white curtain or a piece of baking parchment to diffuse the light. -
Backlighting causing shadows on the front of the food.
Backlighting can look beautiful but it can result in dark shadows on the front of the food. Again, use a reflector to bounce the light. -
Shooting too late in the day
Low light can result in blurry, grainy images. Try to shoot during the brightest part of the day and steady your camera on a tripod if needed.


No comments yet.