

I am often asked how you get from snapshots to great shots. Some people assume that I can take good pictures because I have expensive cameras and lenses. I tell them that I have a great oven but my cooking is awful…
So it’s not about kit. You can take great photos with a camera phone and many people do; take a look at these award-winning i-Phone photos. You can learn a lot by looking at other people’s images but here’s my 7 ways to go from snapshots to great shots.
Get the basics right
1. Get your subject in focus (unless it’s intentionally blurred).
2. Make sure your photograph is correctly exposed – not too bright and not too dark.
Understanding the Exposure Triangle will help with both of the above. Take a look at my blog.
3. No red eye. Nothing makes an image look amateurish more than red eye. It’s hard to avoid unless you have an external flashgun but ever so simple to get rid of with editing software like Picasa.
Learn a few new simple techniques

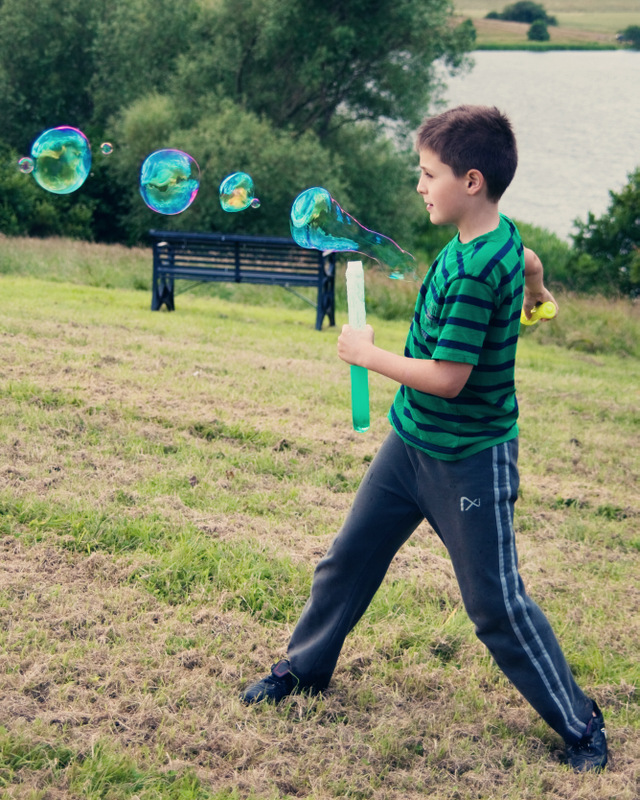
4. Shoot in good light. Avoid photographing people in bright sunlight*. Look for even shade, like on a cloudy day, or just inside a doorway, in the shade of a building or trees etc. Your subjects should be facing the light (usually the sun even when it’s behind clouds) but not directly in it.
5. Know when to use flash and when not to. Camera flash flattens things and makes them look 2-dimensional. Ideally you shouldn’t use it unless it’s night time and dark. Don’t leave it on AUTO in the daytime, so that you are making a decision to use it rather than it just going off on its own. Understanding the Exposure Triangle will help you to avoid using flash.
When you do use flash, don’t get closer than 1 metre or further away than 3 metres. Forget using flash at concerts and shows unless you are on the front row!
* The only time I use flash in the daytime is if I have to photograph people in direct sunlight. The flash fills in any shadows caused by the bright sunshine.
6. Slow down and think about your composition. Briefly here are some tips that make a huge difference:
- Exclude distracting or pointless elements. Fill the frame with your subject. Only include the background if it adds to the photograph. Don’t include featureless, bland grey or white skies.

- Don’t always put your subject in the centre of the image. Use the Rule Of Thirds to place it elsewhere. If you can master using Focus Lock (look it up in your manual until I write a blog on it!), then you can really make a difference to your composition. It’s a focusing technique that allows you to put your subject off centre and have a blurred background. It works best with close up pictures.
- Try to make sure that the subject or message of your photograph is obvious. Using the above two techniques usually helps enormously.
- Think about what’s in the background. Is it distracting or does it make your subject stand out well?
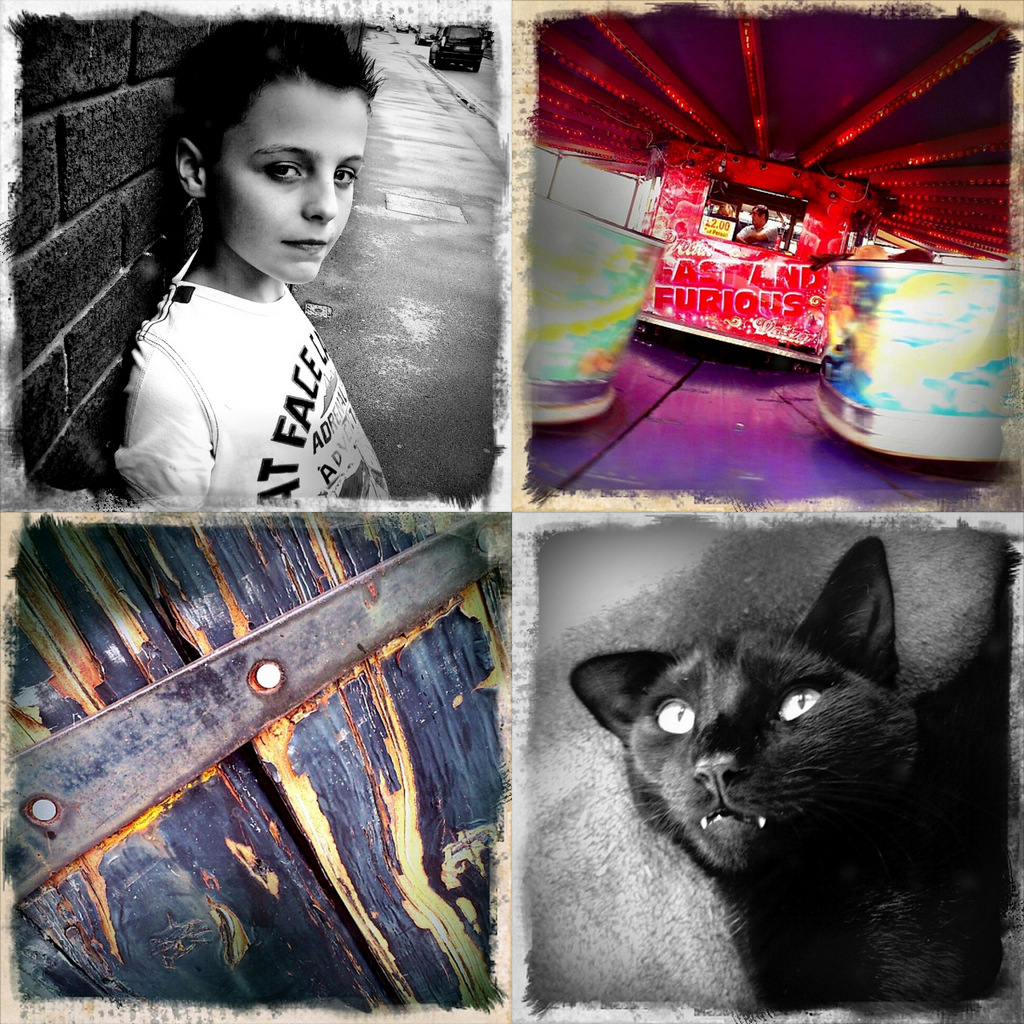
- Use colour cleverly. Look for contrasting or complementary colours in your subject and the background.
- Include textures like peeling paint, wood grain, rock, wool, carpets, blankets etc to add another dimension and interest to your photographs.
- Strong contrasts are very effective: light and dark, soft and hard, contrasting colours, old and young.
- Use Apps to enhance your photographs but don’t use them all the time or to disguise a bad photo.
7. Learn how to get soft focus backgrounds so that your subject stands out. This is not always easy, especially with a camera phone. I can do it if I’m shooting something up very close.
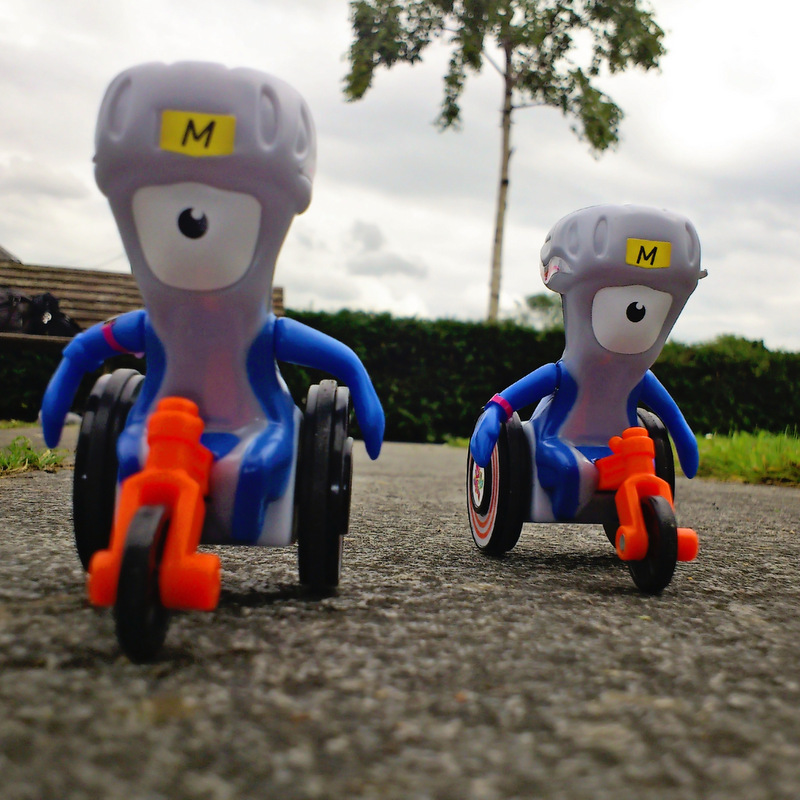
If you have one of the newer camera phones which have a zoom lens (a proper optical zoom not a digital one), or you’re using a camera with a zoom lens, you’ll have more success. As you zoom in closer to your subject, the background will blur.
Once you are applying these techniques on a regular basis they become second nature and you do them without thinking. Once these basics are in place you can take a great picture with a camera phone, a compact camera or an SLR (with removable lenses).
If you enjoyed this blog, you might also like:
How to take better photos with a compact camera.
How to freeze action in photography.
I run a wide range of courses from beginners to intermediates, with a variety of subject matter – children, flowers, products and all round general. You can find details on the Love Your Lens website.
Did you like this blog post or find it useful? If so, please leave a comment, sign up for email reminders at the top of the page or share it with your friends (or even better, all three!!). Thank you – Jane ![]()
Some really great and easy to action tips here thanks for sharing!!
Thank you! And you are very welcome!
You made some really good points here! I really think that the flash thing is key. I hate to see people using a nice dslr camera and then having it in auto and using the flash. A new follower of your website via bloglovin, by the way!
Hi there. Thank you, yes, flash is a pet hate of mine too. Glad you’re following, will take a look at your blog. Thanks.