Why do you take photographs?
I'm talking about the photographs you take for yourself or your loved ones. The portraits, the landscapes, the flowers, the sunsets, the holiday photos, the food pics, the friendly robin that's always in your garden.
We take photos to remember, to freeze a moment in time, to share moments with friends and family. We capture beauty around us to appreciate it later.
What do you do with all these photos?
If you are anything like me you share them on social media, send them via WhatsApp to friends and family and then... nothing. Mine sit on my phone and on my computer. If I'm feeling organised they get transferred onto hard drives to free up space. And they are held somewhere in the cloud, where I hope I can find them again one day if I need to.
Now I haven't told the full story here. As someone who is very passionate about photography, I edit many of my photos, either with a great app called Snapseed or on my computer with Lightroom. And I really enjoy seeing them on my Instagram feed.
But what I hardly ever do is consider printing them, so that I or other people can enjoy them much more often. And I know I'm not alone in not printing them. But what stops me? Laziness, too busy, never get around to it?
Really I should give myself a kick up the backside as I know how beautiful photographs look around the home - I've had enough of them done for clients over the years. And to do this with confidence I've had to learn all about how to do order framed photos, canvases, photo books and luxurious albums. It can be quite scary tapping on 'Buy Now' when the cost price is £500 and the onus is on me to have done it all correctly. I've made some mistakes (thankfully nothing too costly) and picked up a lot of tips and advice. My biggest tip is to go to a professional printing lab, never to the high street printers and rarely to the large cheaper online companies.
Having spoken to lots of my students I know they are often fearful of approaching pro labs, because they don't want to appear unknowledgeable and they fear their images aren't good enough, big enough etc to warrant being printed professionally. With this in mind I invited the MD of my chosen pro lab One Vision Imaging to talk live online to my Love Your Lens Facebook group a few weeks ago. He shared some really great information and tips and I've summarised the most useful points below (in no particular order):
- The best way to ensure you get what you want is to work together with the printer, to treat it like a partnership. You are the photographer and that's your area of expertise; the people at the professional lab are the experts in printing. They have been printing images for decades with the best equipment and knowledge. You don't need to be an expert in printing. Don't be afraid to call them, ask questions and rely on their expert advice to get the result you want. This is the main advantage when working with a pro lab, you can have that relationship and ask those questions.
- If you are unsure whether your image file is large enough to print in big formats give the lab a call and ask. They print at 300ppi as standard but can print as low as 150ppi to create larger prints. We would find it hard to see the difference in the finished product.
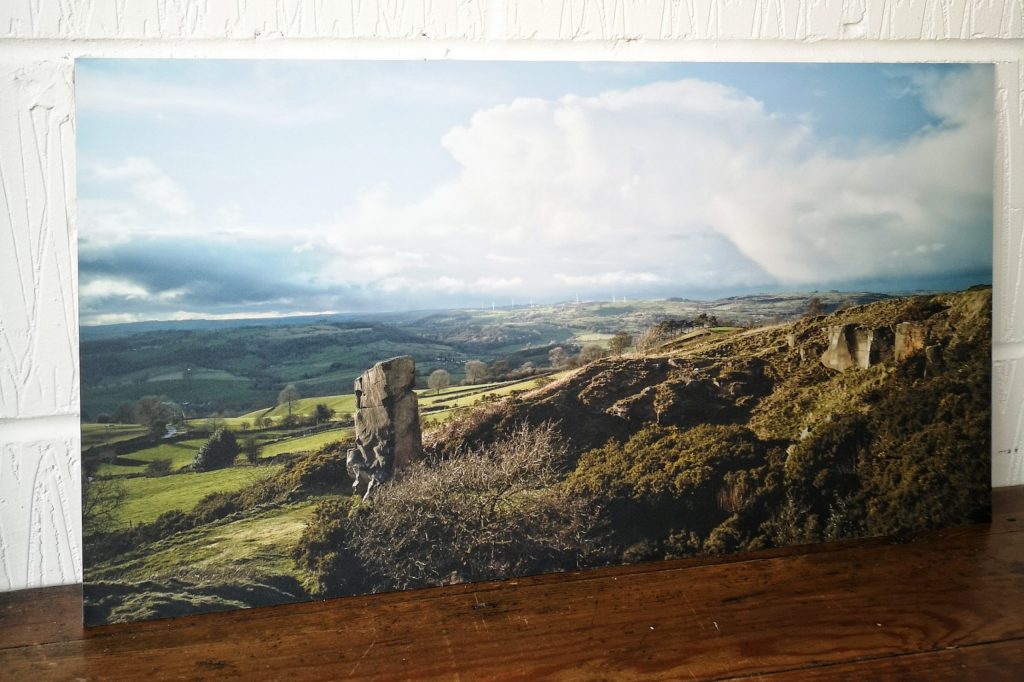
- You can get great quality images from phones. In fact here's an image I had printed at OVI. This is 60cm X 33cm. The advice from the pro lab is that you will get the best results from images that were shot in natural daylight and have a good range of light and great detail. (As was the case in this landscape image taken with a Huwaei P20 Pro phone).

*One Vision Imaging have kindly given Love Your Lens members (and blog readers!) 30% off their framed and wall hanging products until 31.08.20. Use the code LYL30 at the checkout.
- Lustre is the most popular photographic paper finish. It doesn't mark when you handle it, colours look excellent and it works well behind glass and acrylic.
- Metallic paper is like a premium gloss and is ideal for images with a lot of contrast and vibrant colours. Don't use gloss or metallic behind glass.
- Acrylic is used instead of glass in framing now for health and safety reasons, it reduces transport costs and looks good. Non reflective glass is not a great option, flattening the look of the image. If you must have glass you can order museum grade but it is very expensive. Plan where to hang framed photographs to reduce the chance of reflections.
- Colour Management: this is a huge topic and can get very complex. Basically it determines whether we get what we expect - does the final printed product match what we see on our screens and our expectations. One Vision Imaging recommend getting as close as you can to an accurate colour on your home screen if you can. If you are reasonably good at understanding colour management you can calibrate your monitor on a regular basis and download ICC colour profiles from the OVI website. However, if you prefer, you can, once again, choose to leave this in the hands of the experts and just tick 'Please colour correct my images' when you place your order. Also, take advantage of the 'test print' option on the website if you would prefer to see a 5X7" print before going large.
- The substrate you print on can make a difference to the density, contrast and 'sharpness' of your image, for example, canvas or linen finishes. If you are unsure, speak to the lab.
In summary... don't be afraid to ask.
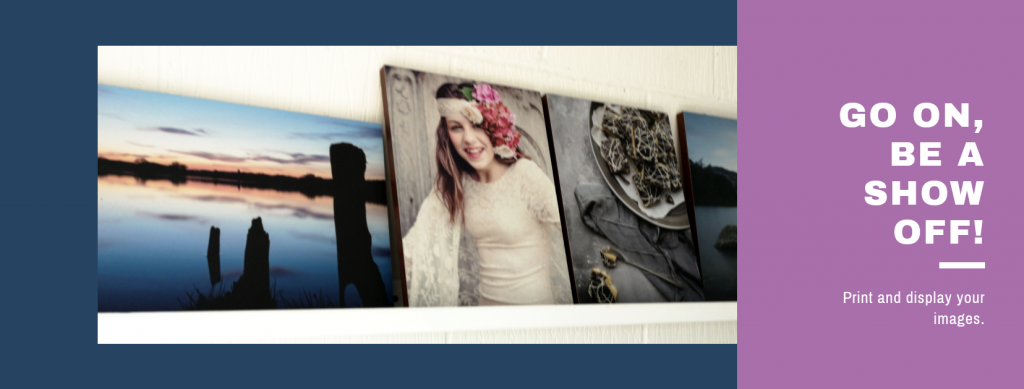
And start showing off your favourite images by putting them on the walls, in frames, on blocks, canvases, printing them on acrylic and lots of other formats too.
As a little bonus if you're interested in printing some of your photos (which I hope you are by now!) take a look at this video recording of a session with my Love Your Lens Academy members about printing images.
Note: The phone image of a landscape was about £30 not £7 as I mistakenly state in the video.
And apologies for not editing out the comment my husband made when advising me on restarting my Mac after it crashed! It's not exactly x-rated but is quite funny.


No comments yet.