
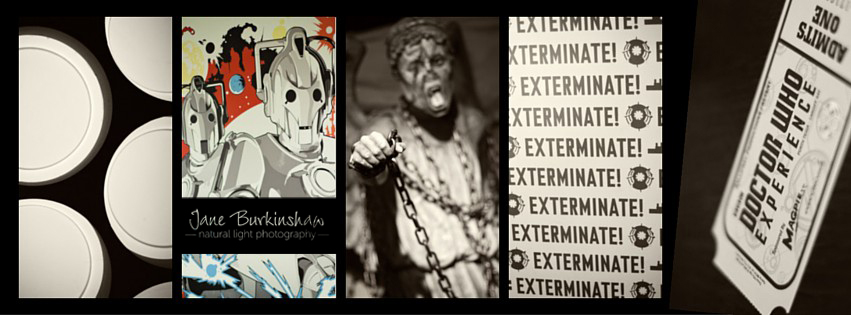
We recently made a much anticipated visit to the Dr Who Experience in Cardiff, where fans get to take part in an adventure with the latest Doctor and then look at real props, costumes and prosthetics used in the show. Our kids are Dr Who crazy and were beyond excited and fascinated.
All of the exhibits were in a converted industrial unit with no windows, just artificial light. Good use had been made of spotlights and lighting effects, to show off the characters to their scary best. It was obviously a great photo opportunity and lots of people, including us, were snapping away at everything, hoping to record some great memories to take home. Flashes were popping and firing everywhere, but I switched mine off, despite the lack of natural light. This is because automatic flash flattens things, making them look flat and two dimensional. It lights up your subject but overpowers any ambient lighting, like the scary lighting used around the exhibition.
Here’s how to shoot indoors without flash:
- You need to move out of the AUTO setting on your camera and into P (program mode) – this is still an auto setting but gives you a few more options, that allow you to shoot more creatively and be more in charge. Look for the P on the mode dial on top of the camera. (If you know how to use the other creative modes such as Aperture or Manual, you could use these instead.)
- In P mode your flash should not fire automatically. But without flash your shutter speed will now be very slow and you will get camera shake.
- So you need to locate the ISO setting on your camera. You may need to consult your manual. The ISO setting makes the camera sensor more sensitive to light, meaning you can take photos when there’s less light.
- Increase the ISO value until you can see a shutter speed of at least 1/60. The ISO may have to be as high as 1600 or more, depending on your camera and lens and how much ambient light there is on your subject. Click on the link to see a cheat sheet on ISO on Pinterest.
- You may notice some graininess in your images. This is called Digital Noise and can be a downside of using a high ISO. It varies from camera to camera and developments in technology means that it is less of a problem with newer cameras. I see it as a worthwhile compromise – a little graininess versus a flat shot lit with flash.
(If you’re not sure what your shutter speed is, you can see it on the left of the screen on the back of your camera. It’s usually displayed as a fraction – 1/60 is 1/60th of a second). If it is lower – like 1/30, or 1/10, then you will get blurred photos from camera shake). Click on the link to see a cheat sheet on shutter speeds on Pinterest.
Using a high ISO is a great way of getting round the No Flash rule in lots of galleries and museums, and also allows you to get some really atmospheric shots. Just don’t forget to change it to lower value when you are back in brighter light conditions.

I run courses and offer one to one tuition to beginners and improvers, so if you’d like help getting to grips with your camera then click on the links and take a look.
Did you like this blog post or find it useful? If so, please leave a comment, sign up for email reminders at the top of the page or share it with your friends (or even better, all three!!). Thank you – Jane ![]()
No comments yet.