
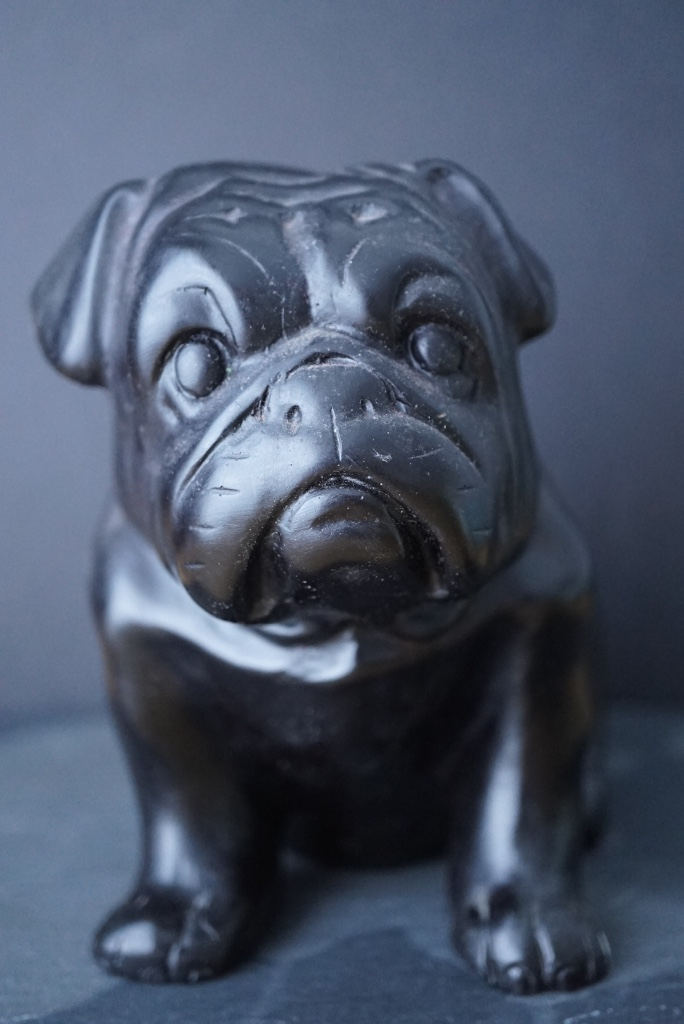
This black dog against a black background has caused the camera to overexpose the image.
Left to its own devices (in AUTO modes) your camera may fail to expose a scene as you would like it to. I’ll try to explain why, without getting too technical.
Your camera’s meter (how it measures light) sees everything in greyscale, a range of grey tones from very dark grey through to almost white. It will expose to an average grey – referred to as 18% grey – a good even exposure for a lot of scenes, but not all…
If you are photographing a scene that contains almost all white – like a snowy scene – the camera will still work to 18% grey – i.e. an underexposed non-white snow.
And if you are photographing a predominantly black subject your camera will still try to expose to 18% grey – resulting in an overexposed subject, as this the case in the first image of the black dog.
Remember, P mode, Aperture Priority and Shutter Priority are all semi-automatic modes and unless you take action, this is what the camera will do – expose to 18% grey. In order to make the dog look black, I need to underexpose the image.
So how did I get the camera to underexpose for the second shot?
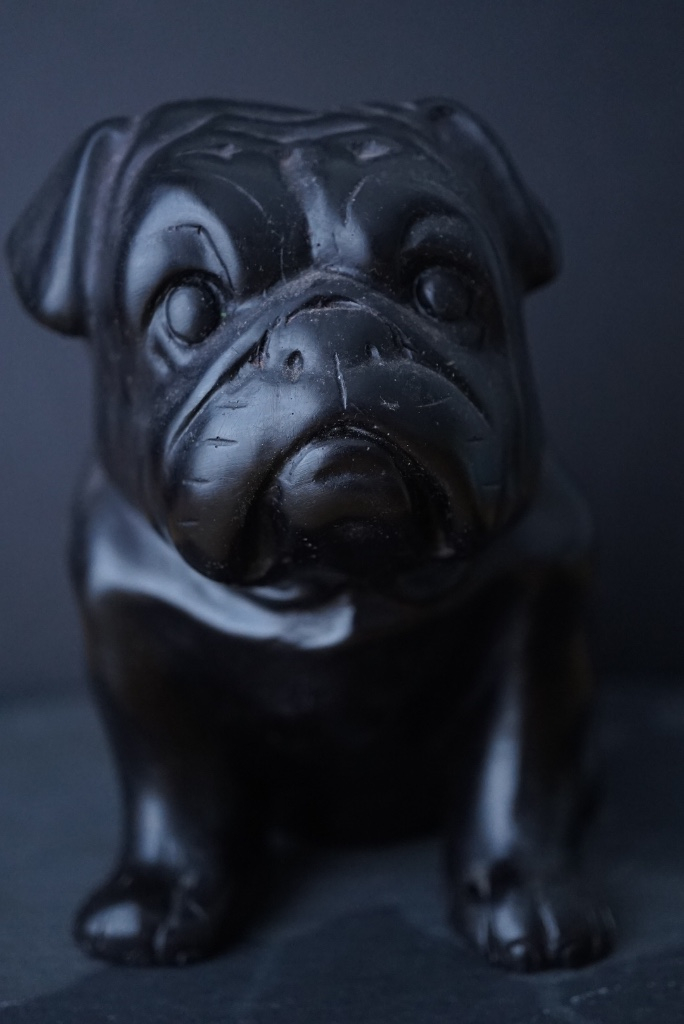
The dog is now correctly exposed by purposely making the camera underexpose.
It’s very easy to do using Exposure Compensation, but before we get to it I’m going to give you a little extra information.
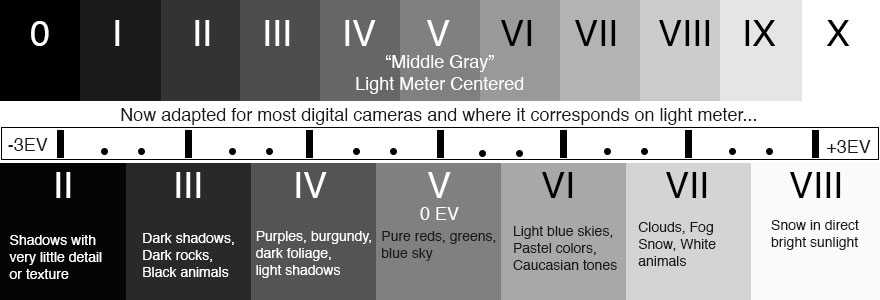
Master of photography Ansel Adams developed a Zone System to help photographers understand and nail exposure. It was developed for black and white film photography but can equally be applied to colour digital photography.
This chart shows the 10 zones in the top section, from pure black to pure white. The middle grey is the 18% grey I referred to earlier.
 In the middle section you can see the gauge that appears see when you use the Exposure Compensation setting or if you shoot in Manual Mode (the gauge doesn’t always look like this it might simply be the numbers 0.0.)
When Exposure Compensation is set at 0 (zero) the camera is working to 18% grey – zone V on the Zone System. To make my overexposed black dog darker, I underexposed by just over one “stop” – between zone III and IV.
If you were photographing a very bright snow scene you would need to overexpose by up to three stops – between zone VII and VIII.
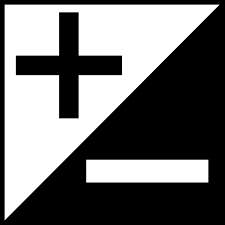
Using the exposure compensation mode usually involves either pressing down the button with the square symbol (above) or scrolling a wheel. You may need to look it up in your manual. Make sure you set it back to zero as it won’t reset on its own. I see a lot of beginners with this setting accidentally off zero, resulting in all images being too bright or too dark.
If you have started shooting in Manual you will adjust the shutter speed and / or ISO to make the gauge move towards the left and thereby underexpose the image.
I hope you’ve found this useful without it being too heavy.
No comments yet.