
Ever tried to take a long exposure photo but don’t have an ND filter? You’re not alone - and the good news is, you absolutely can still create that soft, dreamy motion blur without one.
In this guide, I’ll show you how to take long exposure photos without an ND filter using simple techniques.
Why ND Filters Are Normally Used for Long Exposure Photography
A couple of weeks ago I went to the Lakes and had a go at long exposure landscape photography under the expert tuition of Melvin Nicholson.
We spent a fascinating half day learning how to use filters to enable extremely slow shutter speeds - sometimes as long as 30 seconds - without overexposing the image.
The benefit of this is that any areas of water in the shot look like milky mirrors - completely smooth and free of ripples. With moving water like the sea or waterfalls, the effect can be even more dramatic. Using Melvin’s filters, including a 10-stop filter, I was able to take this shot at Blea Tarn.
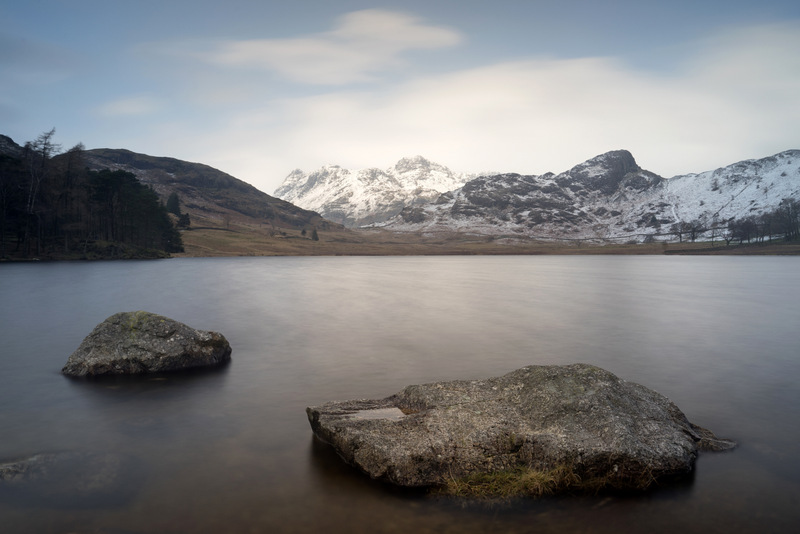
Sony A7 ii. 24-70mm lens. 30 seconds, f/11, ISO 100.

Sony A7 ii. 24-70mm lens. 1/100, f/14, ISO 100.
It led me to wonder how you can take long exposure photos without an ND filter. Melvin suggested that it’s possible to experiment with long exposures at sunset - right at the point where the light is fading and it’s just about to get dark. That idea stuck with me.
As I drove through our village later that day, there was a magnificent sunset, and I decided there was no time like the present. We’re lucky to have Pickmere Lake just minutes from home, so I headed straight there to give it a try.
How to Take Long Exposure Photos Without an ND Filter at Sunset
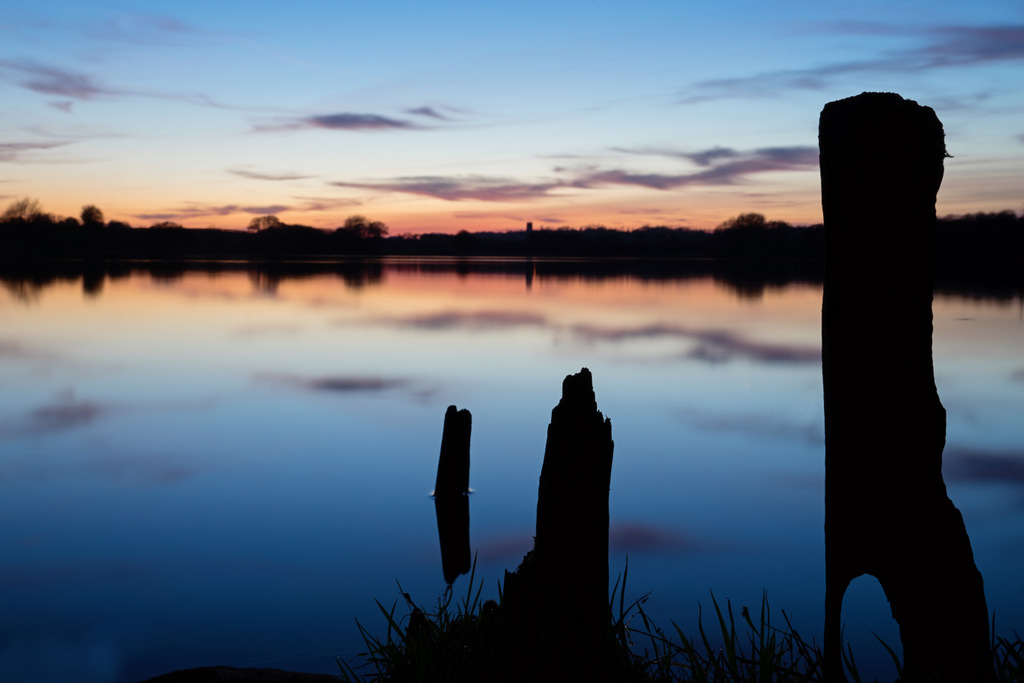
Sony A7 ii. 24-70mm lens. 30 seconds, f/20, ISO 80
This is the shot I managed to get without using any filters at all.
1. Find a Strong Composition First
I looked for a spot with some foreground interest and remembered these old wooden posts sticking out of the water along the shoreline.
The tallest one is only about 9 inches high, but by positioning the camera very low down on a GorillaPod tripod, I was able to frame the shot exactly as I wanted.
2. Start with Low ISO and a Small Aperture
Shooting in manual mode, I started with ISO 100 and f/11.
I then checked what shutter speed would give me the correct exposure — but it was far too fast, as there was still quite a bit of light in the sky.
3. Reduce the Light Further Using Aperture
As I didn’t want to wait too long, I reduced the aperture to f/20 to let less light into the camera.
This allowed me to slow the shutter speed down, bringing me closer to the long exposure effect I was aiming for.
4. Wait for the Light to Fade
From there, it became a waiting game. I used the time to fine-tune my composition and simply enjoy the moment - listening to the gentle splashes on the water and the birds settling down for the night.
5. Use a Long Shutter Speed (Around 30 Seconds)
Finally, when there was just a faint trace of light left in the sky, I was able to set a shutter speed of 30 seconds.
The result was exactly what I’d hoped for - beautifully smooth water and that soft, dreamy long exposure look, all without using any filters.
I was so excited I took a few shots just to make sure I’d nailed it!
Quick Settings for Long Exposure Without an ND Filter
If you want to try this yourself, here’s a simple starting point:
-
ISO: 100
-
Aperture: f/16–f/22
-
Shutter speed: 10–30 seconds
-
Tripod: essential
So if you’ve been putting off long exposure photography because you don’t have an ND filter, hopefully this shows that you can still achieve beautiful results with just your camera and a bit of patience.
And if you’d like to get more confident using manual settings and techniques like this, my photography workshops or one to one tuition are a great place to start - I’d love to help you take that next step.
Stunning picture and a great explanation on how you captured it x
Very kind of you! Thank you.